Guide on How to Use Epic Online Services (EOS) with Edgegap's Game Server Orchestration Platform
Launching an Unreal Engine game with dedicated game servers can be daunting project, from individual developers to experienced medium-sized teams.
Fortunately, the Edgegap platform makes it easy, with a simple integration process that takes minutes. Your game will then be online, ready to connect players worldwide to play. Helping you allocate precious development resources to what you love – making a great game.
Here is Edgegap's plugin video tutorial:
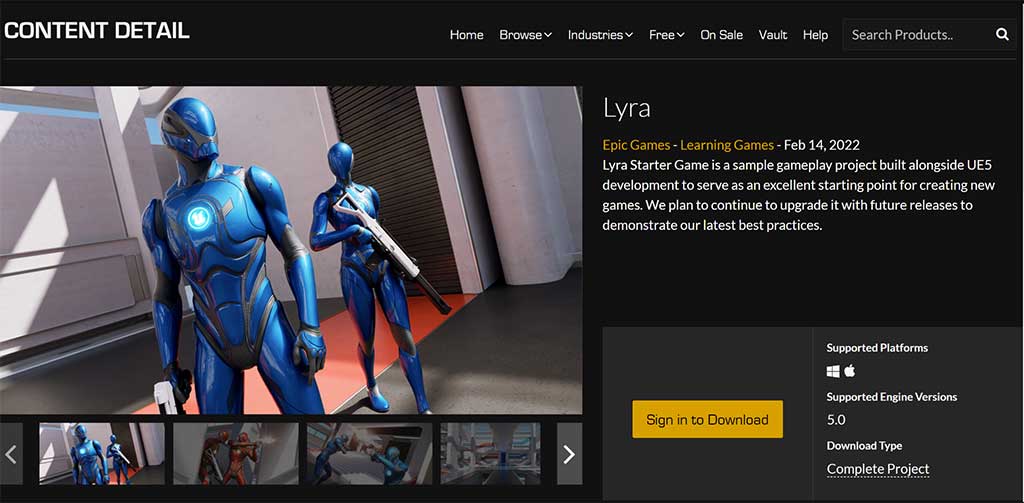
Additionally, the following is a step-by-step process on how to start with the Lyra sample project.
Part 1 – Getting your Game Server Ready in Unreal Engine
First, building an Unreal game server requires access to UE’s source code. This requires that you link your GitHub account with your Epic account, and then download the UE source for the version that you are targeting.

The detailed tutorial on how to complete these steps is available on Unreal’s documentation.
With the UE source in hand, you must then download the Lyra Sample project for source builds.
The quick tutorial is available on this section of the Unreal documentation.With the Lyra Sample set up using the Unreal Engine source, the next step is to configure Lyra to build a game server.
The detailed tutorial on available on Unreal’s documentation.
Please note that the previous example creates a Windows game server, however in our case we need to create a Linux game server. Changing the Development Server build platform in Visual Studio from Win64 to Linux will do just that.
Through these main three steps, you will have built an Unreal Engine game server. Congratulations!
Part 2 – Build, Containerize & Get Online
The Edgegap plugin for UE automatically builds, containerize and deploy your game server – in one click.
The project is available on GitHub alongside its documentation.
* Please note that to successfully build your game server from the Edgegap plugin, you might have to change the name of your Server Target file, based on the version of Unreal you are using. By default, the name is LyraServer.Target.cs, but you might need to use LyraStarterGameServer.Target.cs, and also change the references to the name in the ".cs" file.Either from the link in the plugin or directly on our website, follow the guided onboarding on Edgegap’s platform. When completed (it takes minutes!), grab your API token and hit the "Build & Push" button.
This will create your game server and containerize it, then push it to your own private container registry at Edgegap. You can then hit the "Deploy" button to launch it on Edgegap.
To connect to the game server from the Unreal Editor, you can use the command console and type "open" followed by the URL and external port of your Edgegap deployment.
Both the URL and external port can be found either in the Edgegap Unreal plugin or in the dashboard of Edgegap’s platform.
Congratulations, your game is now online!
Note: Alternatively, for experienced users or previous Docker users, our documentation goes through every step on how to automate your game server container builds.
What’s Next?
Now that your game works online, you can look at tweaking user experience. Add a lobby or a matchmaker for players to meet each other, prevent abuse and cheating with anti-cheating and authentication, enable cross-play, voice over and many more!
If you’re looking for a lobby or a matchmaker, you can check out Epic online Services lobby here, or Edgegap’s matchmaker here. For more info on other possible services and integration, you can check out Epic online services documentation here.
Questions? Excited to Show your Game to the World? Get in Touch!
If you need help, don't hesitate to reach out to our team. Here's a few ways to get in touch, or drop in on Discord with our team ready to help, alongside fellow developers.